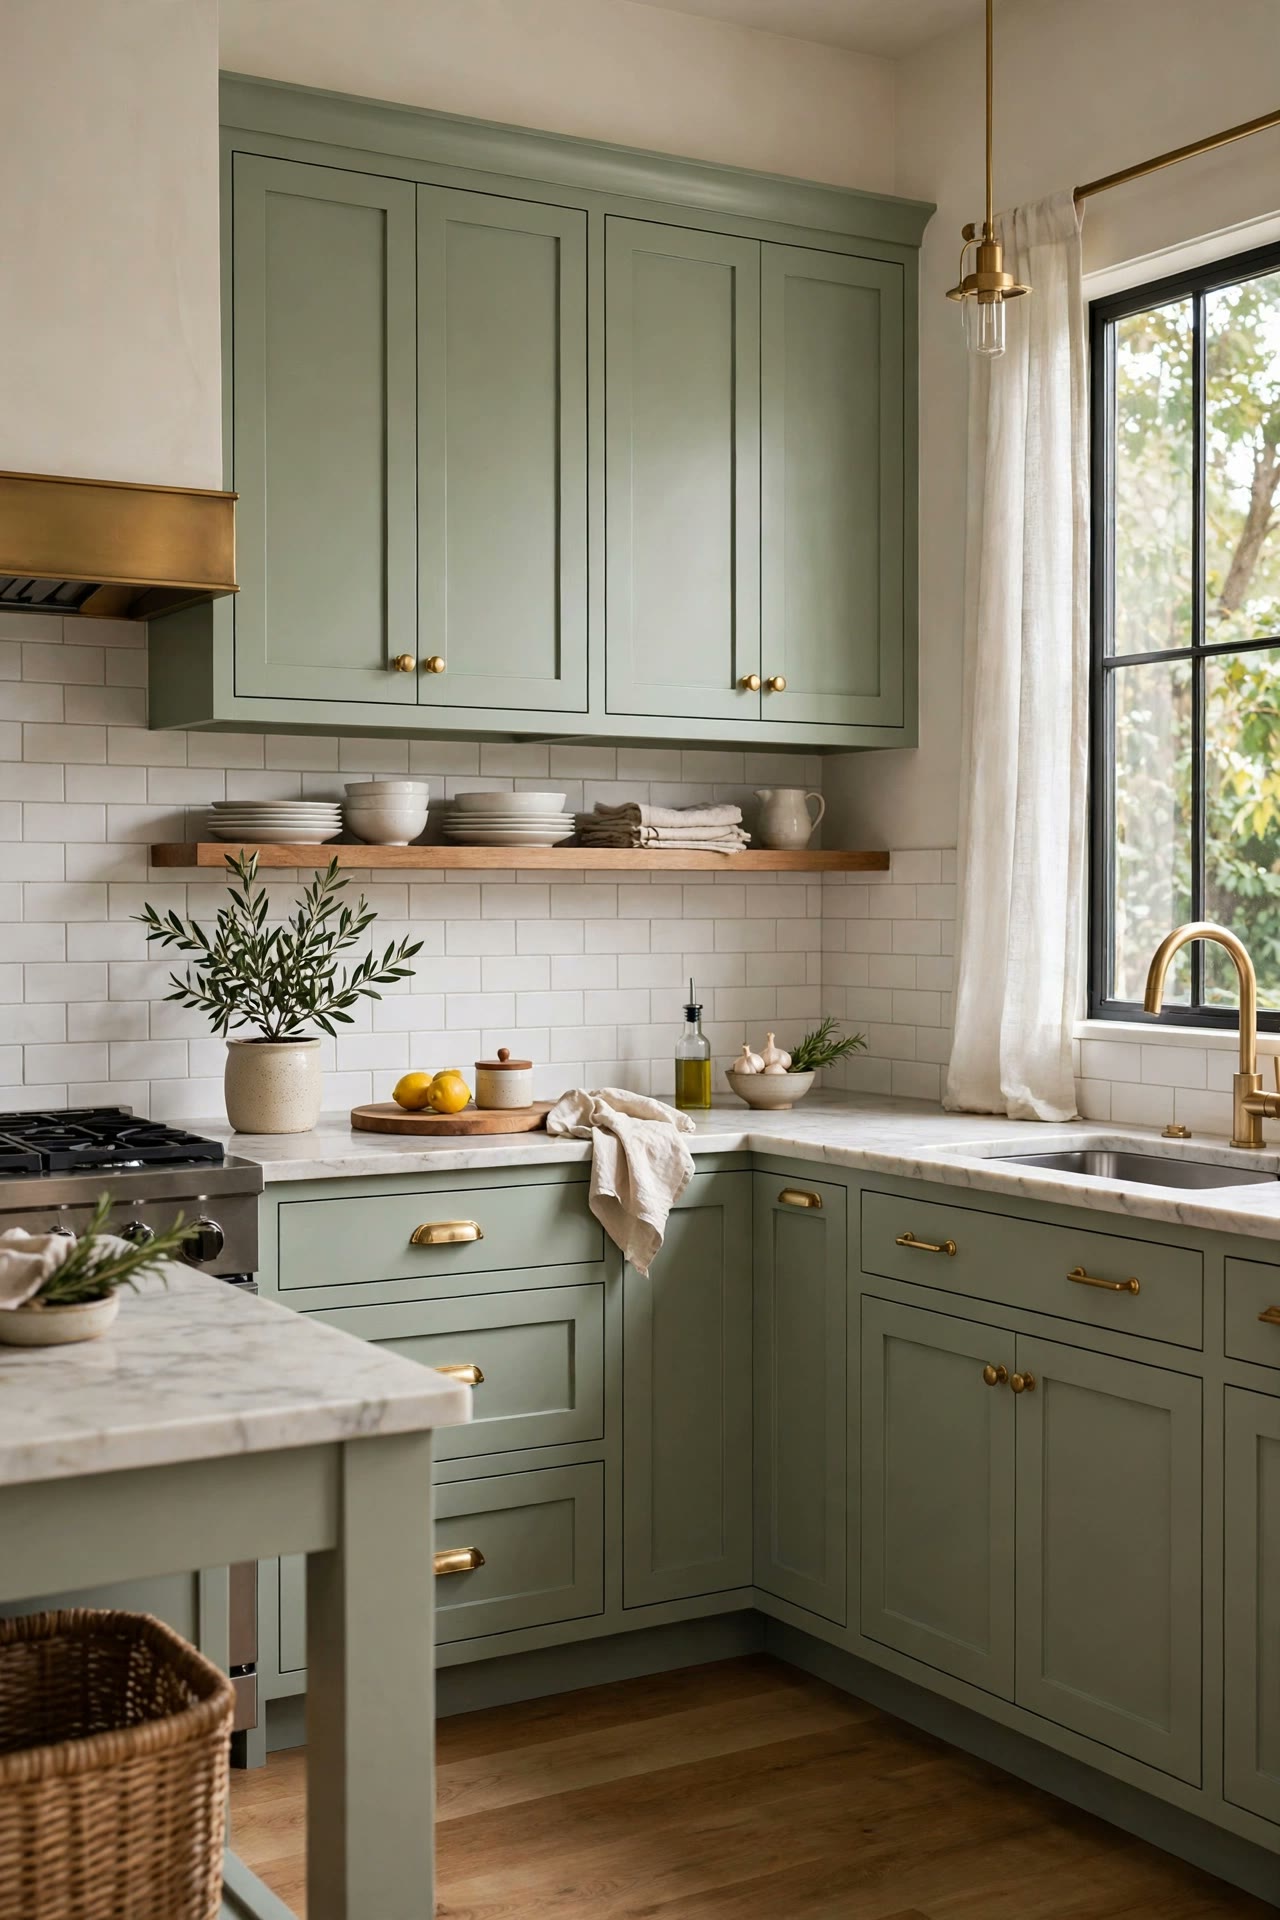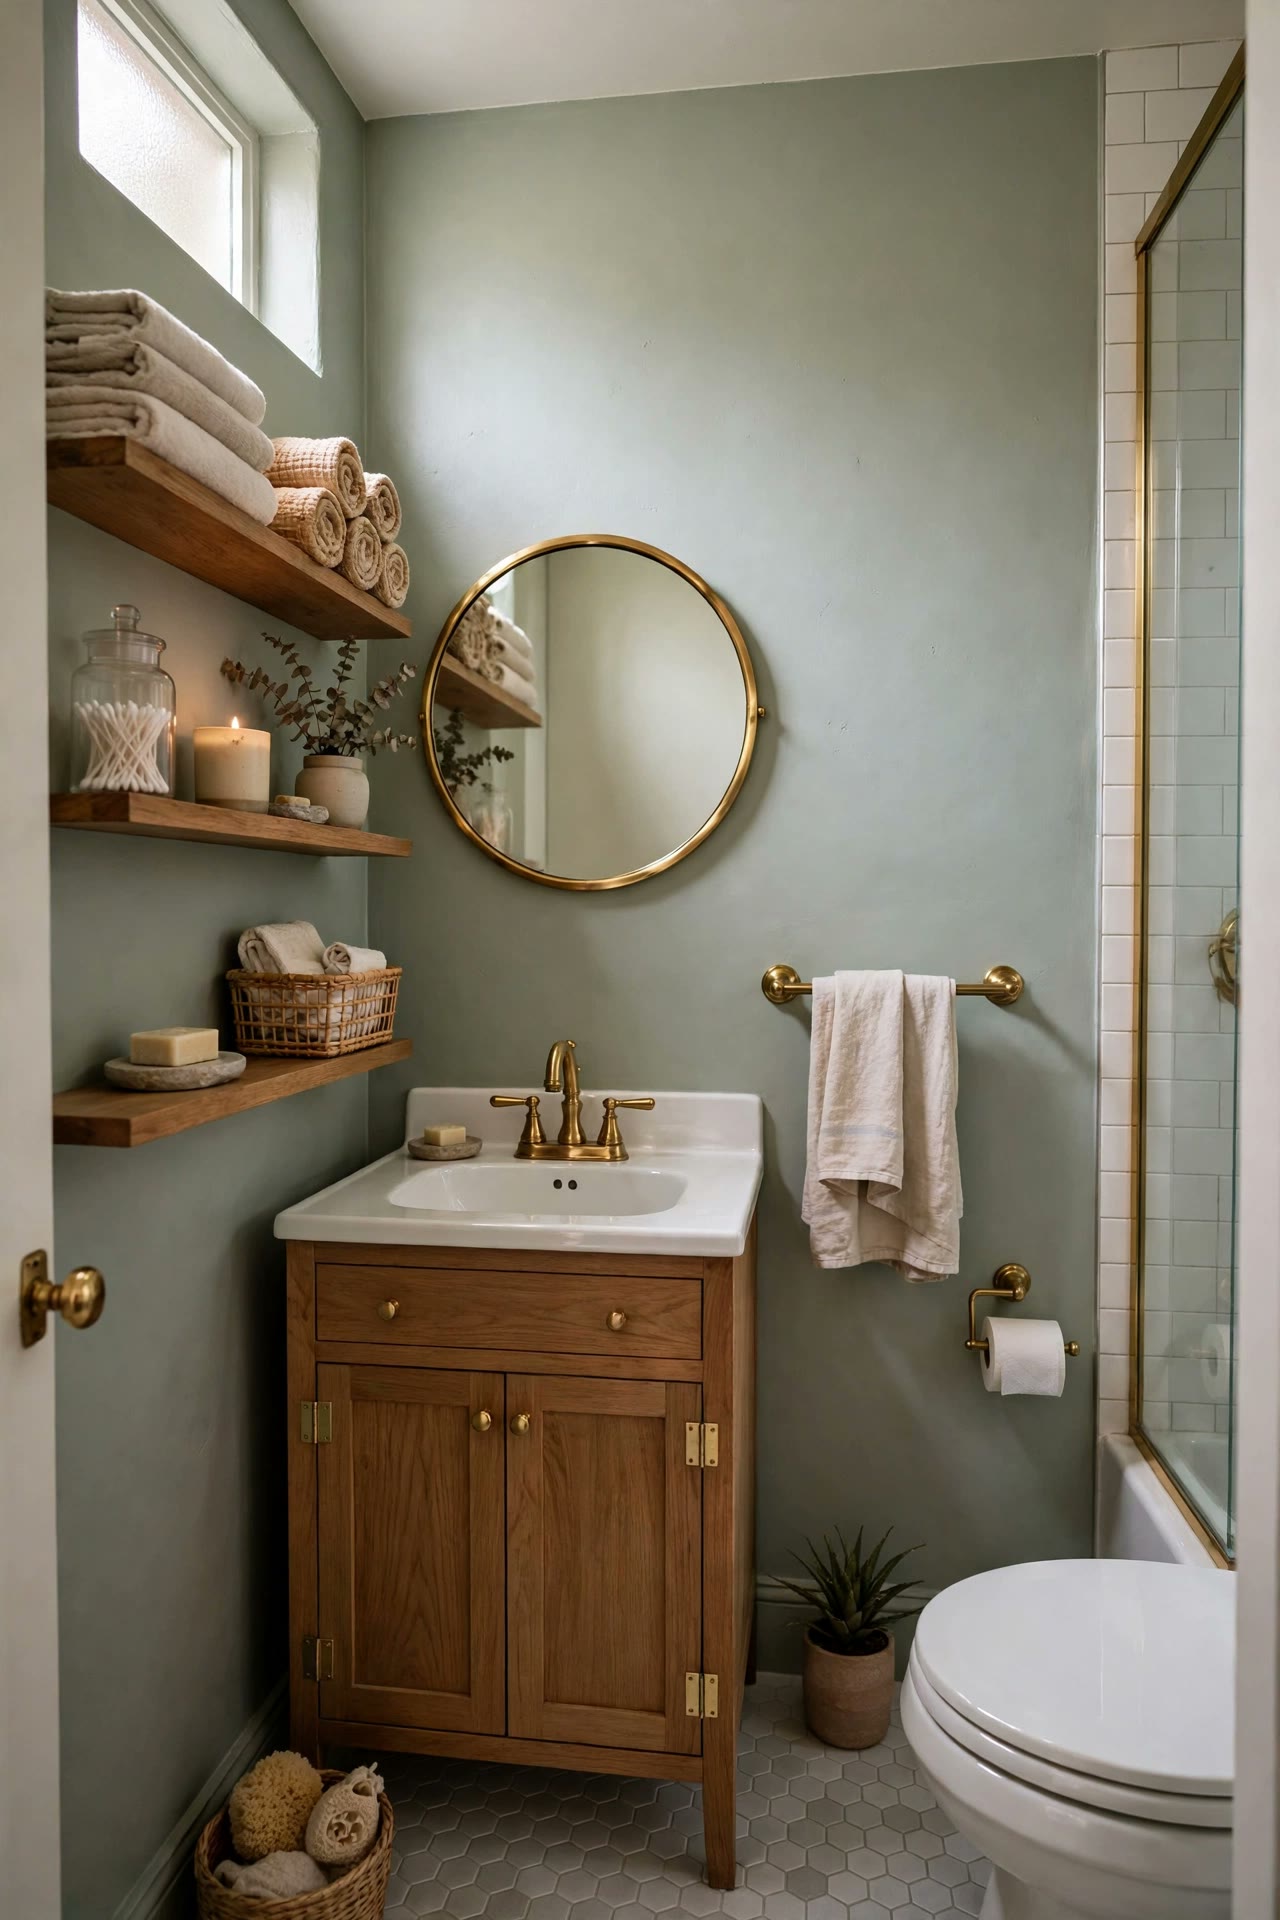
Thrifted Dresser Flip: Budget Furniture Makeover Before and After

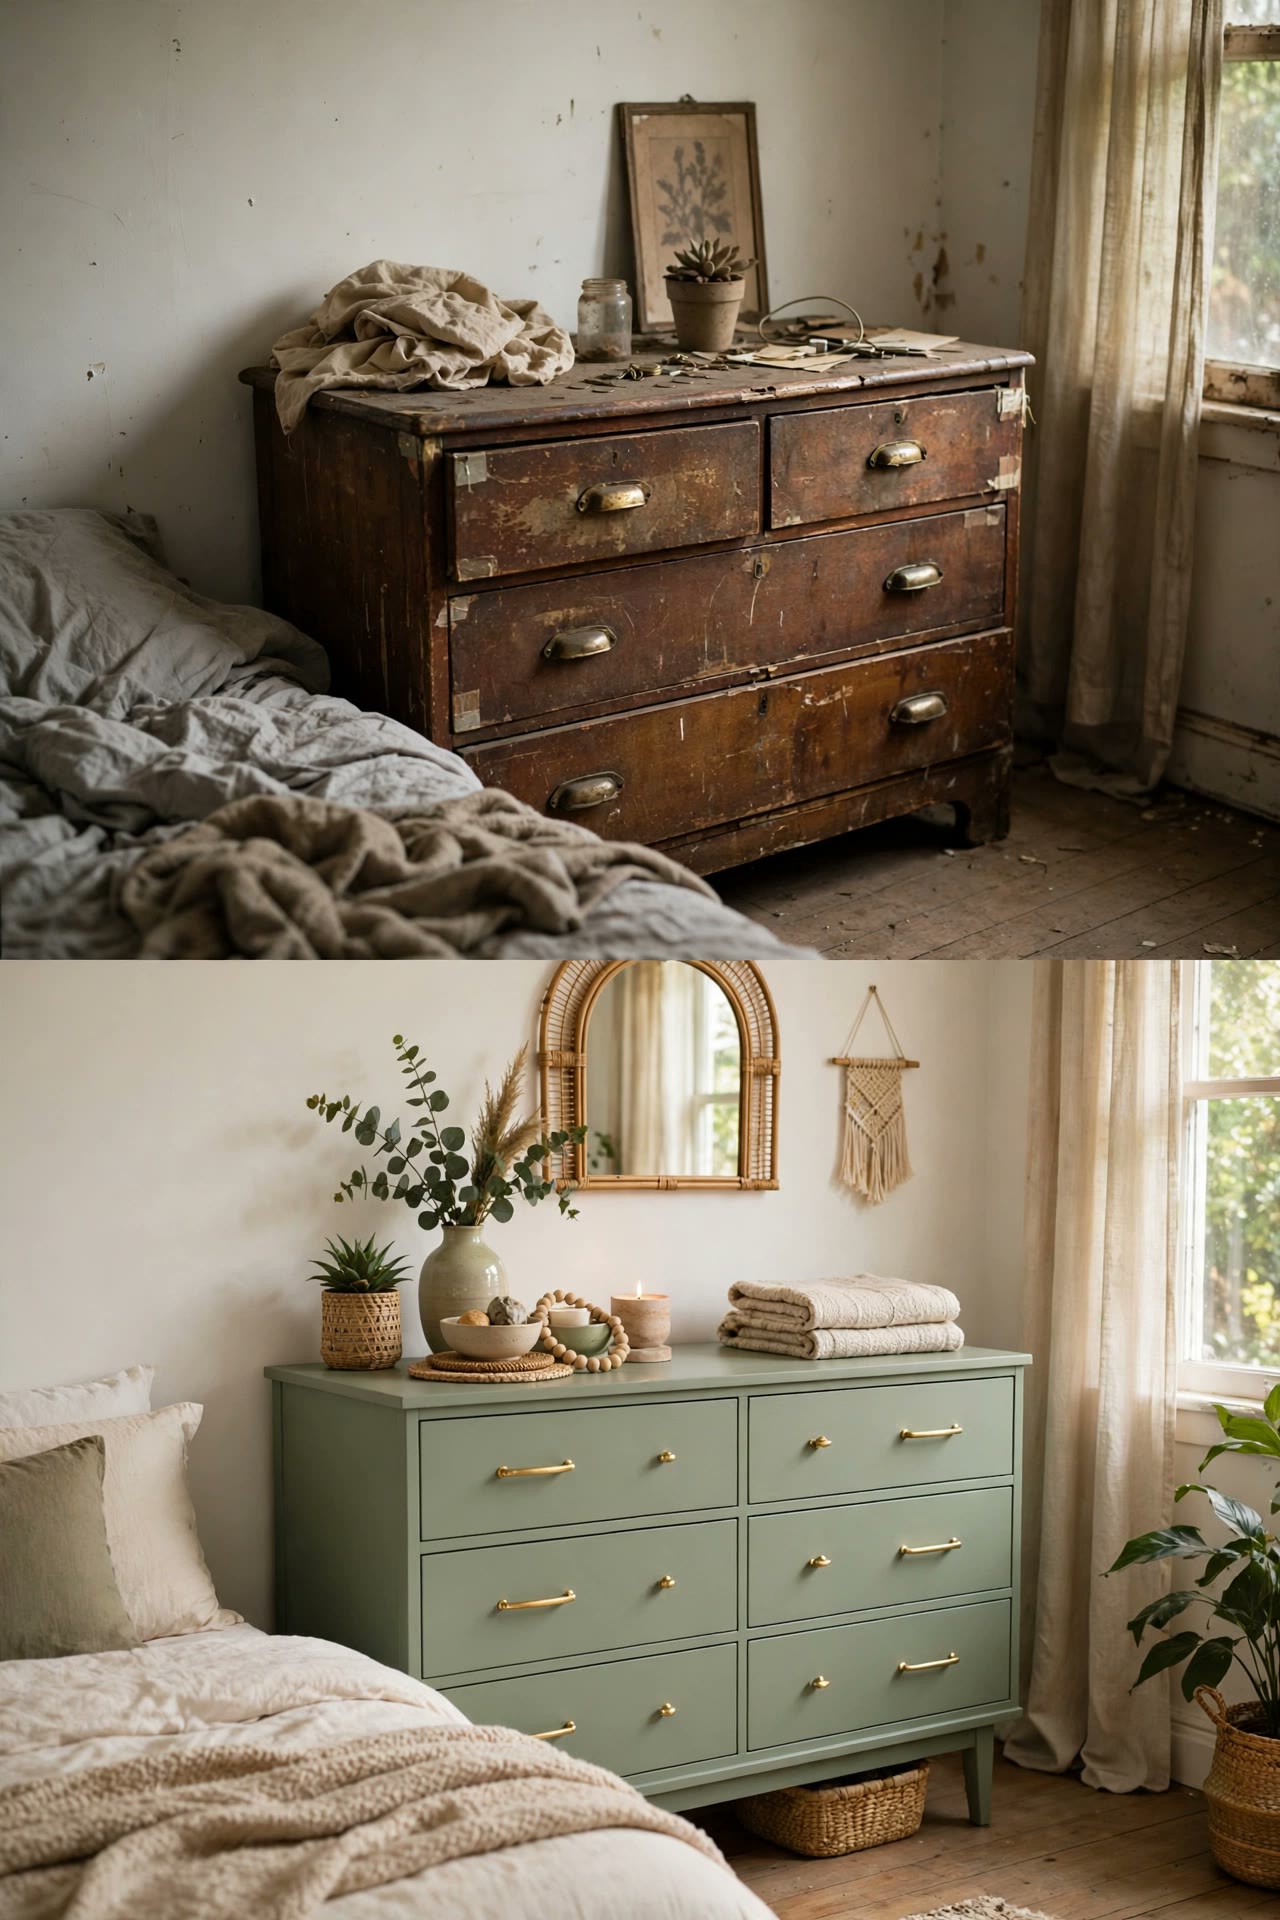
A thrifted furniture makeover is the most satisfying budget project there is, and a dresser flip is the best place to start, because it takes a piece of furniture someone else gave up on and turns it into the best-looking thing in the room. A solid wood dresser from a thrift store, a charity shop, or a marketplace listing usually has better bones than a new flat-pack piece, and a weekend of work with paint and new hardware can give it a second life that lasts for years. This guide walks through finding a good dresser, preparing it properly, choosing paint and finish, upgrading the hardware, and styling the before and after.
Finding a good thrifted dresser
The best thrifted dresser is a solid, heavy piece with drawers that slide, even if the finish is scratched and the handles are ugly. Check the bones before you fall in love with the price. Open every drawer and make sure it runs smoothly and closes fully. Check that the back panel is intact, the legs are solid, and the top is flat. Solid wood is ideal, and a veneer in good condition is fine too, but avoid pieces with swelling, bubbling veneer, or a musty smell that suggests damp. Look for dovetail joints on the drawers, which signal a well-made piece, and check that the drawer bottoms are solid rather than sagging. A dresser with a few scratches and a dated finish is perfect, because that is what paint fixes.
Prep: clean, sand, prime
Preparation is the unglamorous part that decides whether the paint lasts. Start by removing all the hardware and the drawers, and label everything so it goes back in the right place. Clean the whole piece with a degreasing cleaner and warm water, because old furniture carries years of polish, dust, and kitchen grease, and paint will not stick to a dirty surface. Let it dry fully, then sand lightly with fine sandpaper to give the paint something to grip, working in the direction of the grain. Fill any dents, scratches, or old handle holes with wood filler, let it dry, and sand it smooth. Wipe the whole piece down with a damp cloth to remove dust, and apply a stain-blocking primer, which stops old stains and wood tannins bleeding through the paint.
Paint and finish choices
Choose a cabinet or furniture-grade paint in a satin or eggshell finish, which is tough enough to be wiped down and soft enough to look like furniture rather than plastic. Apply two thin coats with a small foam roller for flat surfaces and a brush for edges and details, and let each coat dry fully before the next. Thin coats dry harder and smoother than one thick coat, and they show fewer brush marks. Paint the drawers separately, laid flat, so the paint does not pool in the corners. Color is where the flip becomes yours. A deep sage, a warm cream, or a soft clay tone suits a cozy home, while a dark charcoal or aubergine gives the dresser a dramatic, modern feeling.
Hardware that upgrades it
New hardware is the fastest upgrade in a furniture flip, and it changes the whole character of the piece. Brass pulls suit a warm, traditional dresser, matte black handles suit a modern one, and leather pulls suit a relaxed, earthy room. Choose hardware that fits the existing holes where you can, or fill the old holes and drill new ones for a completely different look. Measure the hole spacing carefully before you order, because handles are sold by their center-to-center measurement. Buy one handle first and test it on a drawer before you commit to a full set, and check that the screws are the right length for the drawer front thickness. If the original hardware is solid brass or an interesting vintage shape, consider cleaning it and reusing it, since original hardware often suits the piece better than anything new.
Before and after styling
Photograph the dresser before you start, in good light, from the front and from an angle, because the before photo is half the satisfaction. When the flip is finished, style the dresser the way it will actually be used: a mirror or a piece of art above it, a lamp on one side, a small plant or a vase on the other, and the top kept mostly clear. A dresser styled with one lamp, one plant, and one personal object looks intentional, while a dresser covered in objects looks like storage.
Inside the drawers, add drawer liners in a washable paper or fabric, which protect the fresh paint and make the drawers feel finished. Keep the styling consistent with the room: the dresser’s new color should echo a cushion, a rug, or a curtain somewhere else in the room, so the piece feels connected rather than dropped in.
Concept image: AI-generated interior concept.